

Blender How To Set Origin
Introduction – ¿What is the origin of an object?
The origin of an object in Blender is the point in space that represents the whole object, for example if nosotros want to say the exact position where the object is, nosotros will utilize the position of the origin. Furthermore, transformations similar position changes, rotations and scale will be calculated relative to the origin coordinate. The origin of a 3D model is a concept that is used throughout different design software, for instance if we export our Blender model to Unity, the origin of the model that is defined in Blender will exist the origin of the object in Unity. For these reasons information technology is of import to know how to change the origin of an object in Blender, placing it where nosotros think it is more than convenient. In the post-obit video I explicate two means to do this.
This video summarizes how to change an object's origin in Blender 👉

CHECK MY LATEST EXPERIMENT
👇
(CLICK TO WATCH It ON YOUTUBE)
How to know where the origin of an object is in Blender
The origin of an object in Blender is represented past a yellow dot, below we see a cube, a torus and a cylinder with their corresponding origins.
Working Modes – Object Fashion and Edit Style
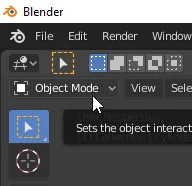
In Blender nosotros tin work in dissimilar modes, two of them in item are the object manner and the edit mode, with the TAB central we can switch between both (if we have at to the lowest degree i object selected). In the object mode as its name indicates we will work with objects, that is, nosotros will non accept into account the geometry of the object itself, only its basic transformations, such as position, rotation and scale, and hither the origin is of import to correspond the object in space. When we move, rotate or scale the object, we will be doing it in relation to its origin indicate.
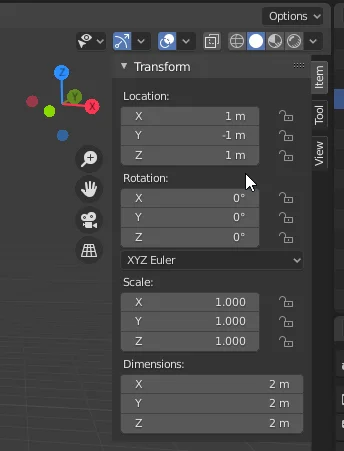
In the object mode we can know the verbal position of the origin point in the transformation panel (shortcut "Due north" if it is not visible), as we see in figure 5, in the tab Item, nosotros can see the location of the origin, its rotation and its scale and of form we can manually enter values in these fields, positioning precisely an object or giving it a certain orientation or size.
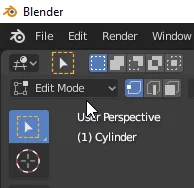
In Edit mode (figure 6), on the other hand, we go within the object and we tin see and alter its geometry, that is, the vertices, edges and faces that accommodate the mesh. In this manner we can create new faces and do all kind of geometrical transformations but the origin remains in the same location, unless we explicitly modify it.
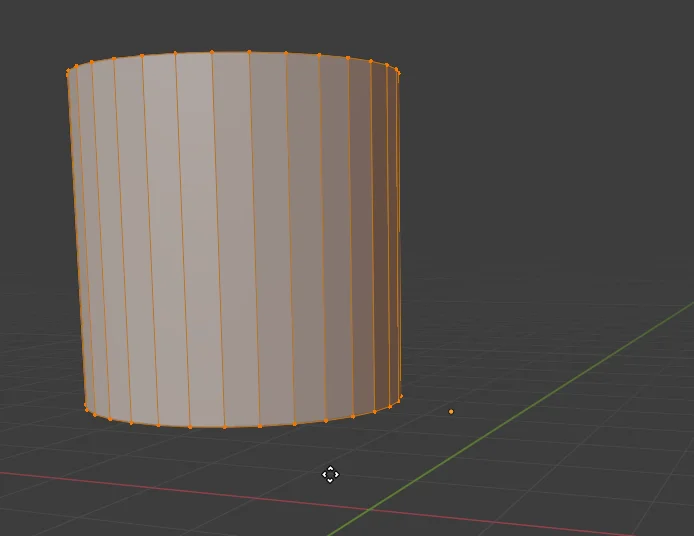
In figure seven as y'all can see, all the vertices of the cylinder was selected and have been moved, the origin bespeak however remains in place, if we compare information technology with the cylinder in figure 3.
How to modify the origin of an object in Blender using the 3D cursor
Later understanding what the origin of the 3D object is and what it is used for, we volition see how to alter the origin'south position to whatsoever point in infinite. To practice this we will assistance the states with the 3D Cursor.
First we volition encounter how to position the 3D Cursor exactly where we desire, for that we will see three examples, the offset is to position the 3D Cursor in the eye of a face, on a vertex or in the center of an edge.
Placing the 3D Cursor in the center of a confront in Blender
Giving a certain object, we go to the edit mode and select a face from the mesh(with the faces mode, shortcut "3" or by selecting the vertices that define it). In one case we accept the face selected we employ the shortcut "SHIFT+S" to open the SNAP menu, as nosotros run into in figure viii, this menu gives the states many options, but the 1 that interests us at this moment is to move the 3D Cursor to the current selection, as nosotros accept the face selected, the upshot is that the 3D cursor is moved to the geometric center of the face, as nosotros encounter in figure 9.
Placing the 3D Cursor on a Vertex in Blender
If we repeat the process but this fourth dimension having only one vertex selected, the 3D Cursor will be positioned on that vertex, meet effigy 11.
Placing the 3D Cursor in the eye of an edge in Blender
And if nosotros exercise the process again but this time having an border selected (two vertices), we come across how the 3D Cursor moves to the centre of that edge, see effigy 13.
With practice, using one of these three techniques or a combination of them we will exist able to position the 3D Cursor at whatever signal of interest in the object or in the globe.
How to motion the origin to the 3D cursor in Blender
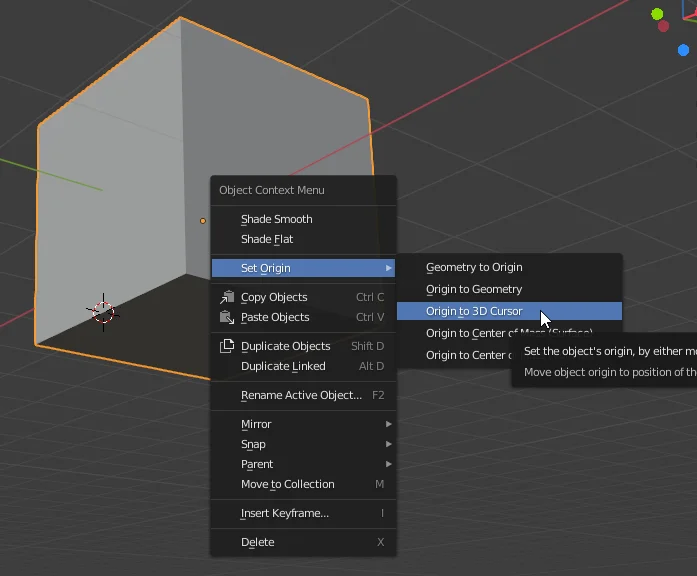
Now that we have the 3D cursor placed in the position where nosotros want to move the origin's object nosotros will go on exiting the Edit Mode and entering the Object Way, so right click on the object, go to the "Ready Origin" choice and choose the "Origin to 3D Cursor" option (figure 14), this will make the object's origin move to the electric current position of the 3D Cursor.
Equally we tin can see in figure 15, the yellow point that represents the origin has been moved to the heart of the edge where the 3D Cursor was located, from now on, the transformations made in object mode will be calculated with respect to that new origin, equally nosotros tin see in figure 16, a rotation restricted to the 10 centrality is fabricated and the result is that the origin point remains fixed and the rest of the object rotates around information technology.
Conclusion
The origin of an object is of import because it defines the position of the object in the world and the transformations that are made on it, in general will be calculated with respect to the origin.
It is possible to modify the origin of a 3D object and position it where is more user-friendly according to the object, for case if it is a helix, it is user-friendly that the origin of the object is in the rotation axis of the helix, this way, when we rotate the piece, the result will be a natural rotation for that object.
Source: https://gamedevtraum.com/en/blender-tutorials-and-curiosities/how-to-change-the-objects-origin-in-blender/
0 Response to "Blender How To Set Origin"
Post a Comment